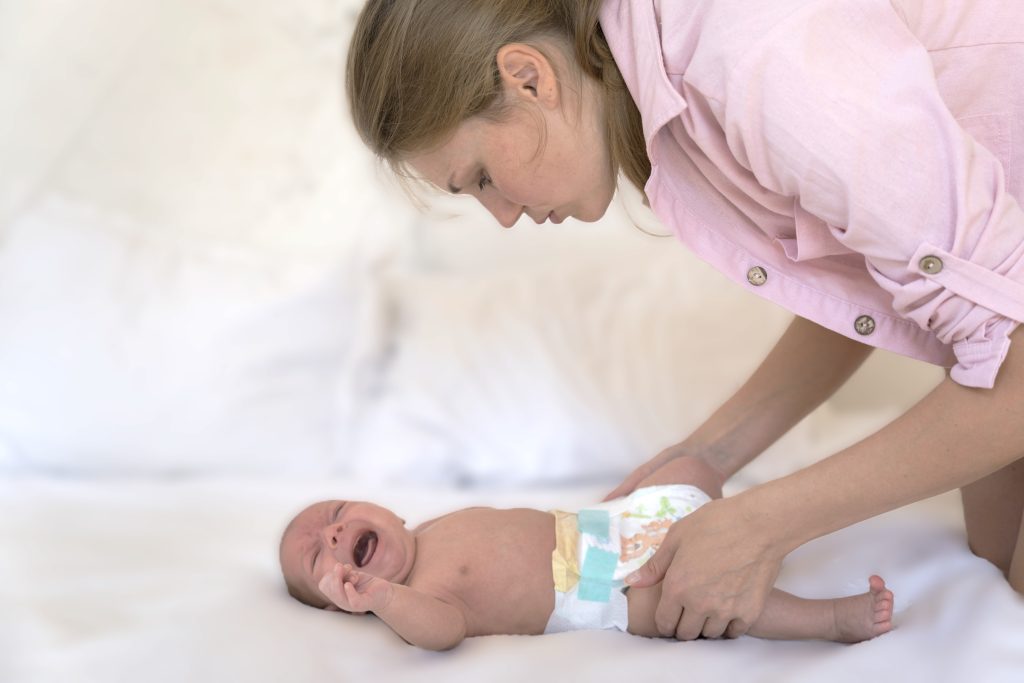
Changing your newborn’s diaper may seem a little daunting at first, but it’s an easy skill to master with a bit of practice—and before you know it, you’ll be changing diapers like a pro!
Whether you’re a first-time parent or just need a refresher, we’ve got you covered with a simple, step-by-step guide for newborn diaper changing.
This guide on how to change a diaper on newborn offers everything you need to know to change a newborn’s diaper, from diapering essentials to diaper rash prevention, making sure both you and your little one are comfortable every step of the way.
Diaper changes are a great time to bond with your baby—so take a deep breath, and let’s dive in!
Step-by-Step Guide to Changing a Newborn’s Diaper

Here’s a detailed step-by-step guide to changing a newborn’s diaper, ensuring you have all the essential tips to make the process smooth and comfortable for both you and your baby.
1. Gather Your Diapering Essentials
Before you start, make sure you have everything you need within arm’s reach:
- A clean diaper (either disposable or cloth, depending on your preference).
- Baby wipes or a damp washcloth for sensitive skin.
- Diaper cream to prevent diaper rash.
- A changing pad or soft surface for your baby to lay on.
- Diaper pail or a trash can to dispose of dirty diapers.
Having these diapering essentials ready will make the process faster and easier, especially when you’re dealing with a squirmy baby.
2. Position Your Baby Safely
Place your baby on a safe, flat surface, like a changing table or a soft pad on the floor. Always keep one hand on your baby to prevent any accidents. Ensure that all your items, including the new diaper and wipes, are close by for easy access.
3. Remove the Dirty Diaper
Undo the tabs on the dirty diaper, and gently lift your baby’s legs by their ankles. Use the front part of the diaper to wipe away the bulk of the mess. Then, fold the diaper in half under your baby, tucking the clean side up so you don’t soil the changing area.
4. Clean Your Baby Thoroughly
Using baby wipes or a soft cloth, wipe from front to back to ensure cleanliness, especially for baby girls. This prevents bacteria from causing infections. Be sure to clean around all creases and folds to keep your baby’s skin healthy. If you are using cloth diapers, make sure the baby wipes or cloth are gentle on sensitive skin.
5. Apply Diaper Cream (Optional)
If your baby has sensitive skin or you notice any redness, applying diaper cream will help prevent or soothe diaper rash. A barrier cream, like one with zinc oxide, is commonly used for protection against moisture, which can irritate the skin.
6. Put on a Clean Diaper
Slide the clean diaper under your baby, making sure it’s positioned correctly. For newborns, especially if the umbilical cord stump is still attached, fold the front of the diaper down to keep it exposed and dry. Secure the diaper snugly but not too tight—you should be able to slip two fingers between the diaper and your baby’s tummy for the perfect fit. Whether you use disposable or cloth diapers, ensuring the proper fit helps prevent leaks.
7. Dispose of the Dirty Diaper
If you’re using disposable diapers, place the dirty one in a diaper pail or trash can. If you’re using cloth diapers, have a diaper bag or designated bin ready for soiled ones until laundry time. This will help manage diaper disposal and keep the nursery clean and odor-free.
8. Dress Your Baby and Clean Up
After securing the clean diaper, redress your baby if necessary, wash your hands thoroughly, and wipe down the changing surface. Having a clean and organized space makes the next diaper change easier and ensures a hygienic diapering routine.
Tips and Tricks to Make Newborn Diaper Changes Easy
- Change frequently: Newborns need frequent changes, usually every 2-3 hours or right after they soil a diaper, to prevent irritation or diaper rash.
- Cloth vs. disposable diapers: Some parents prefer cloth diapers for environmental reasons, while others find disposable diapers more convenient, especially when on-the-go. Whichever you choose, ensure that it’s comfortable and fits your baby well.
- Diaper rash prevention: Keep your baby’s bottom dry and clean, and use a gentle diaper cream if needed to prevent rashes.
- Avoid diaper leaks: Ensure the diaper is snug around the waist and thighs without being too tight. For boys, point their penis downward to prevent leaks.
How Often Should You Change a Newborn’s Diaper?
Newborns typically require about 10 to 12 diaper changes per day in the early weeks. Keeping an eye on their diaper will help prevent diaper rash and keep your baby feeling fresh and clean.
Umbilical Cord Care During Diaper Changes
If your baby still has their umbilical cord stump, make sure the diaper doesn’t cover or rub against it. You can fold the diaper down in the front or use newborn diapers designed with a notch to keep the area exposed and dry.
Conclusion: How to Change a Diaper on Newborn
Changing a newborn’s diaper may seem like a lot at first, but with a little practice, you’ll be handling it like a pro in no time. Remember, it’s all about finding your own rhythm and keeping things simple.
Each diaper change is also a chance to bond with your baby—so take your time, enjoy those sweet moments, and don’t stress about the occasional mess!
With these steps in mind, you’ll keep your little one happy, clean, and comfortable. You’ve got this!
Creating a consistent baby hygiene routine helps keep your little one healthy and happy. Always consult your pediatrician for personalized advice based on your baby’s specific needs.

